Portability

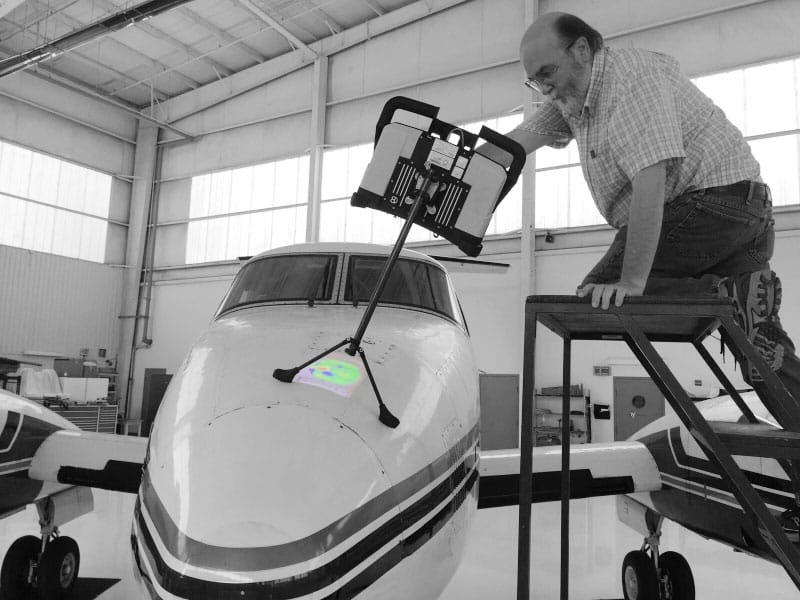
Unlike most other inspection systems, an 8tree system is fully self-contained and portable – just one box in a compact and light weight form-factor. All you need is in there. Nothing more is needed to operate it – no power supply, no cables, no monitor, no keyboard. Just press the blue button and within two seconds the result is clearly projected on the part, coloured in red, green or blue to tell you what’s in and what’s out of tolerance.

Simplicity

We believe in Usability Engineering. We think of ways to hide all the complexity of a traditional 3D scanning and image processing system so that it’s simple for the operator to use – as simple as taking a photo with your cell phone. This includes automatically checking for brightness, distance, movement, contrast, reflection etc.

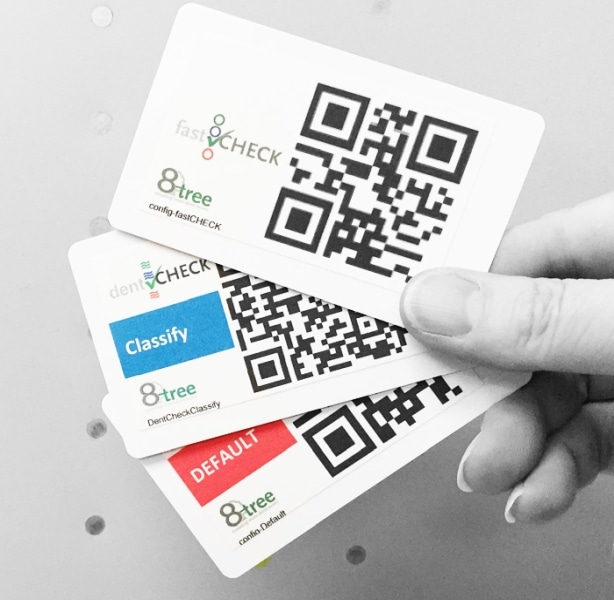
The key to ease-of-use is the User Interface. There are no complex menus to navigate or boxes to fill in order to change settings. If a new setting is required, simply present one of our credit-card sized QR codes to the camera and you are done!

Transferring the result data is equally as easy: simply plug in a USB drive and all the underlying data will transfer automatically. Alternatively, data can automatically be transferred wirelessly to any location you choose.

Speed

The response time of a system is one of the key things to consider when taking into account Usability Engineering during design. Thanks to Jakob Nielsen’s seminal work in this field, here are some lessons we have learned:

“…there are three important limits to device response times: 0.1 second for immediate response, 1 second for uninterrupted user workflow, and 10 seconds for keeping a user’s attention.”

That’s why we make every effort to ensure that each 8tree system gives you a result within seconds.

Accuracy

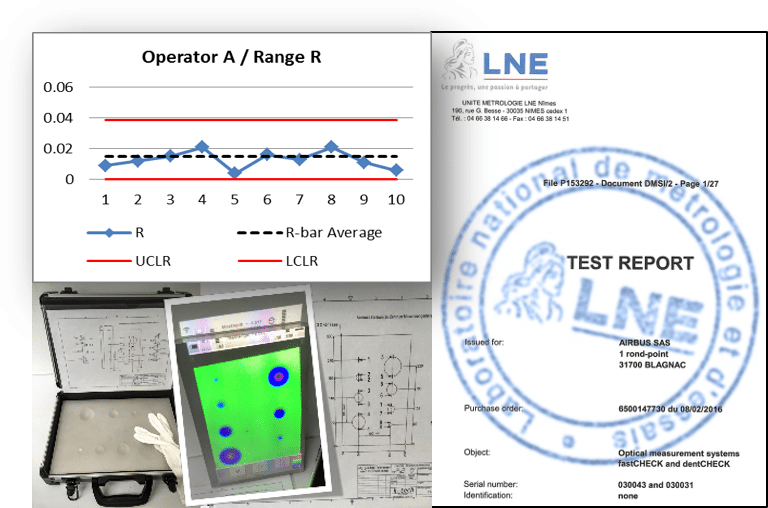
We will never compromise the quality of our measurements. Our performance has been approved by the LNE (French National Lab for Metrology & Testing). We are proud to say that dentCHECK delivers a depth measurement uncertainty of +/- 50 µm and fastCHECK produces an even tighter flushness uncertainty of +/- 12,5 µm (2 sigma confidence level). These numbers convinced Airbus to use the systems for manufacturing purposes (listed in their AITM).

The numbers can also be proven on a daily basis with the help of our Reference Validation Plates that are traceable back to the national standards and calibrated by an ISO 17025 accredited laboratory. Each 8tree system comes with a traceability report, that demonstrates an unbroken chain of calibrations to the national standards as references.

Actionable Results

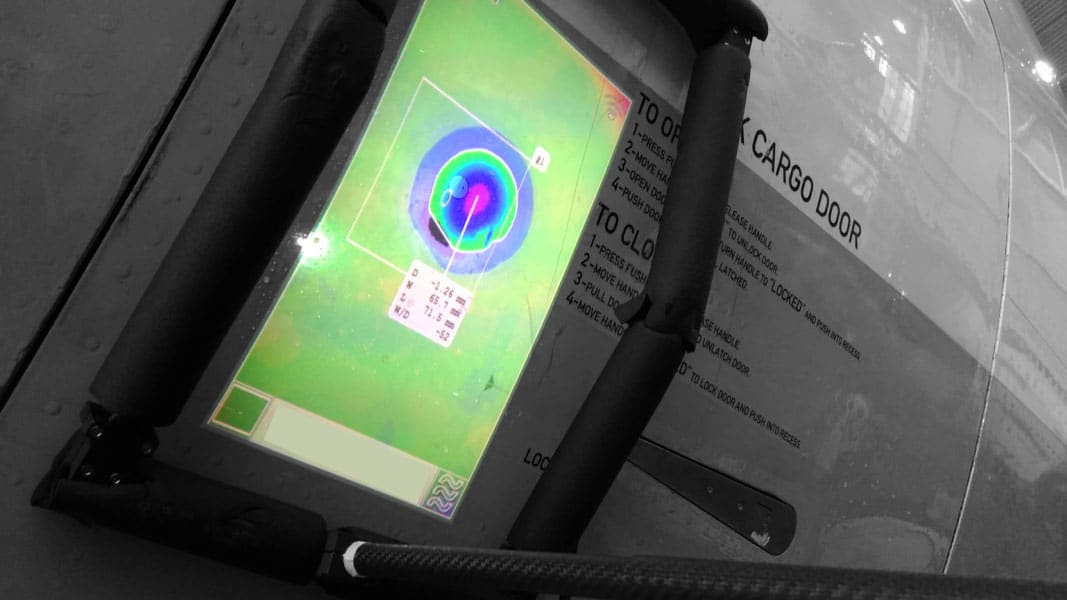
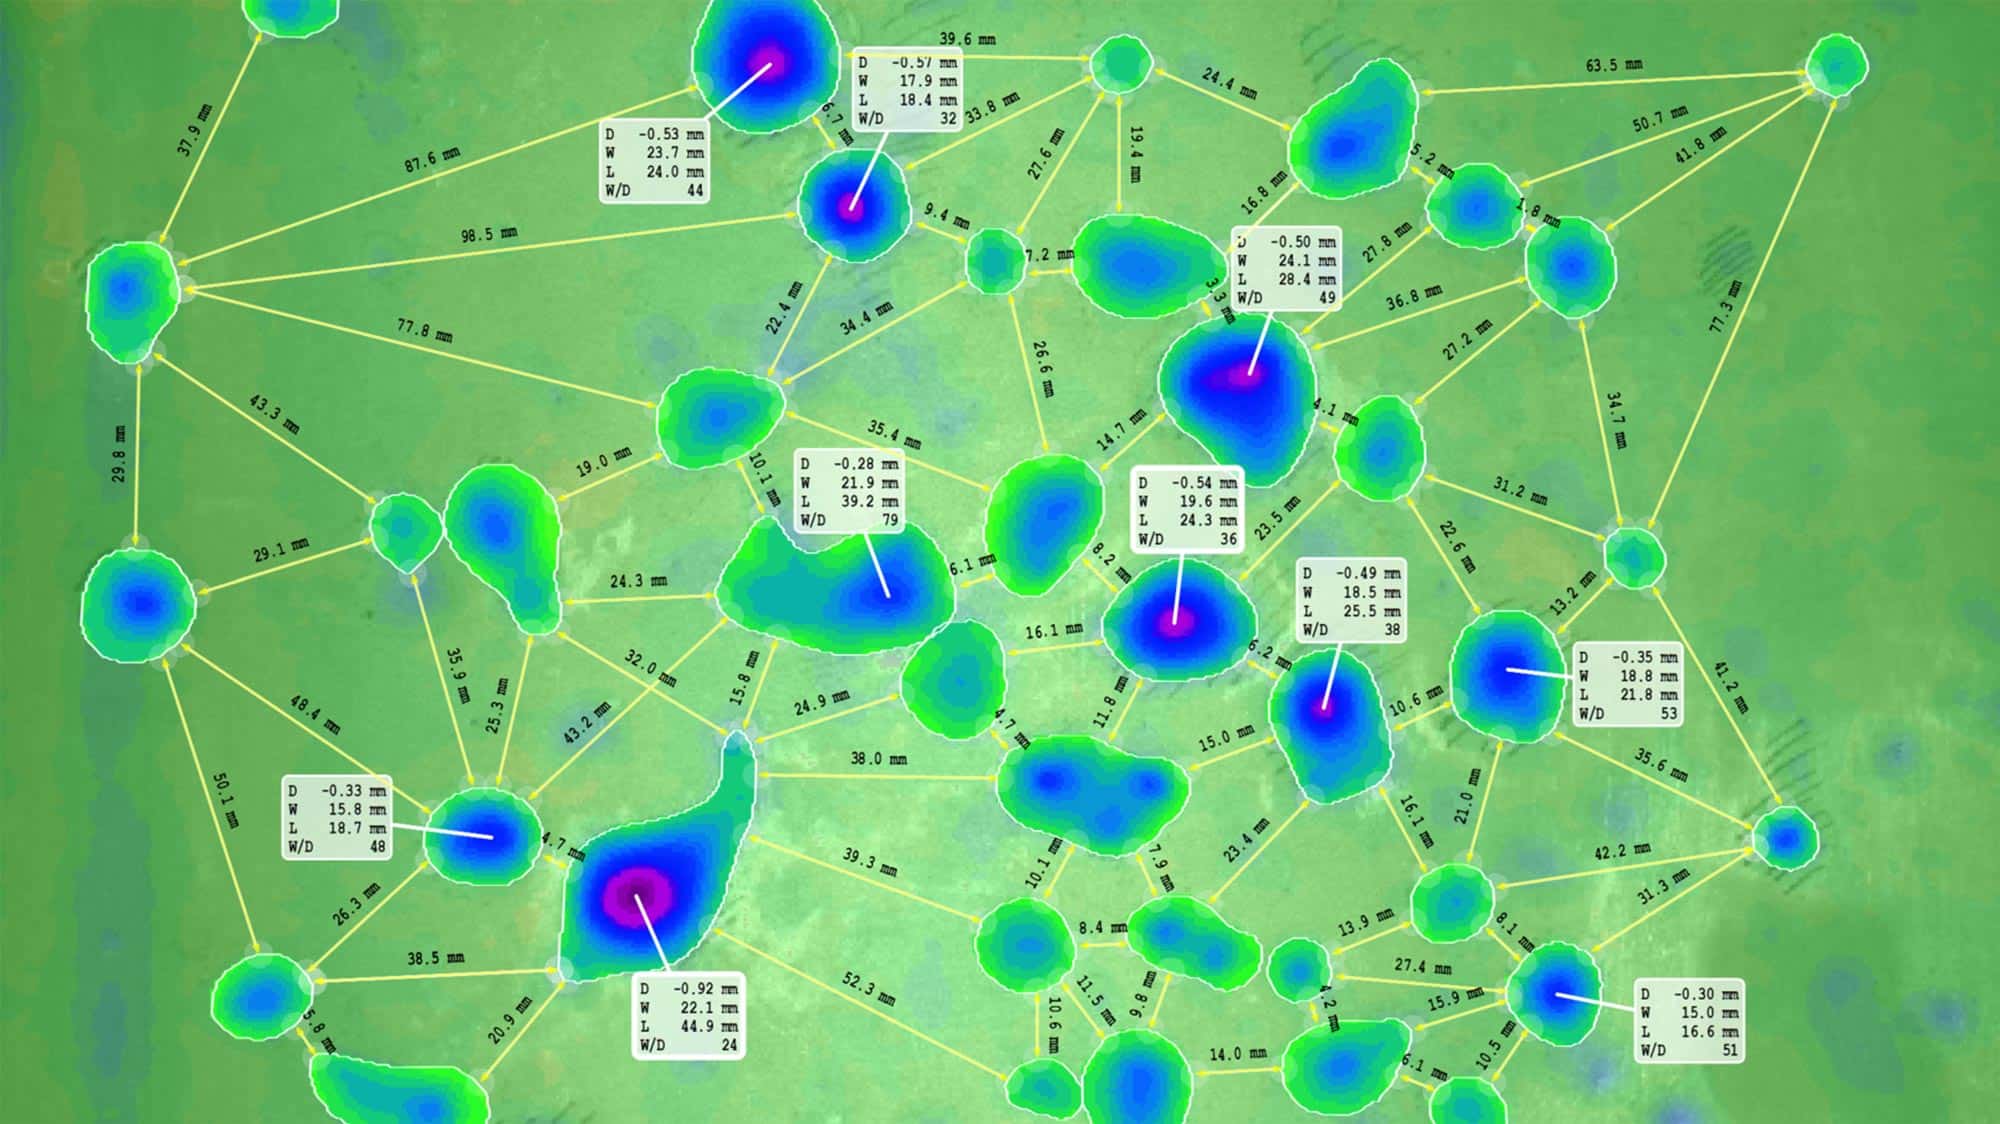
Augmented Reality! What is that? Although, it’s a common term in consumer electronics, AR is only starting to appear in the industrial and manufacturing sectors. AR-based “projection of results” onto the inspected surface has been an integral feature of every 8tree system ever since we shipped our first system a few years ago.

8tree’s 3D inspection tools use Augmented Reality (AR) in such a manner that the measurement results are projected back on the inspected surface – you will work more efficiently and reliably while ensuring that the technology bends to your needs:

  • To make a computer monitor obsolete
  • To give immediate & actionable feedback on the physical part
  • To create an easy-to-understand link between the part geometry and the representation of results

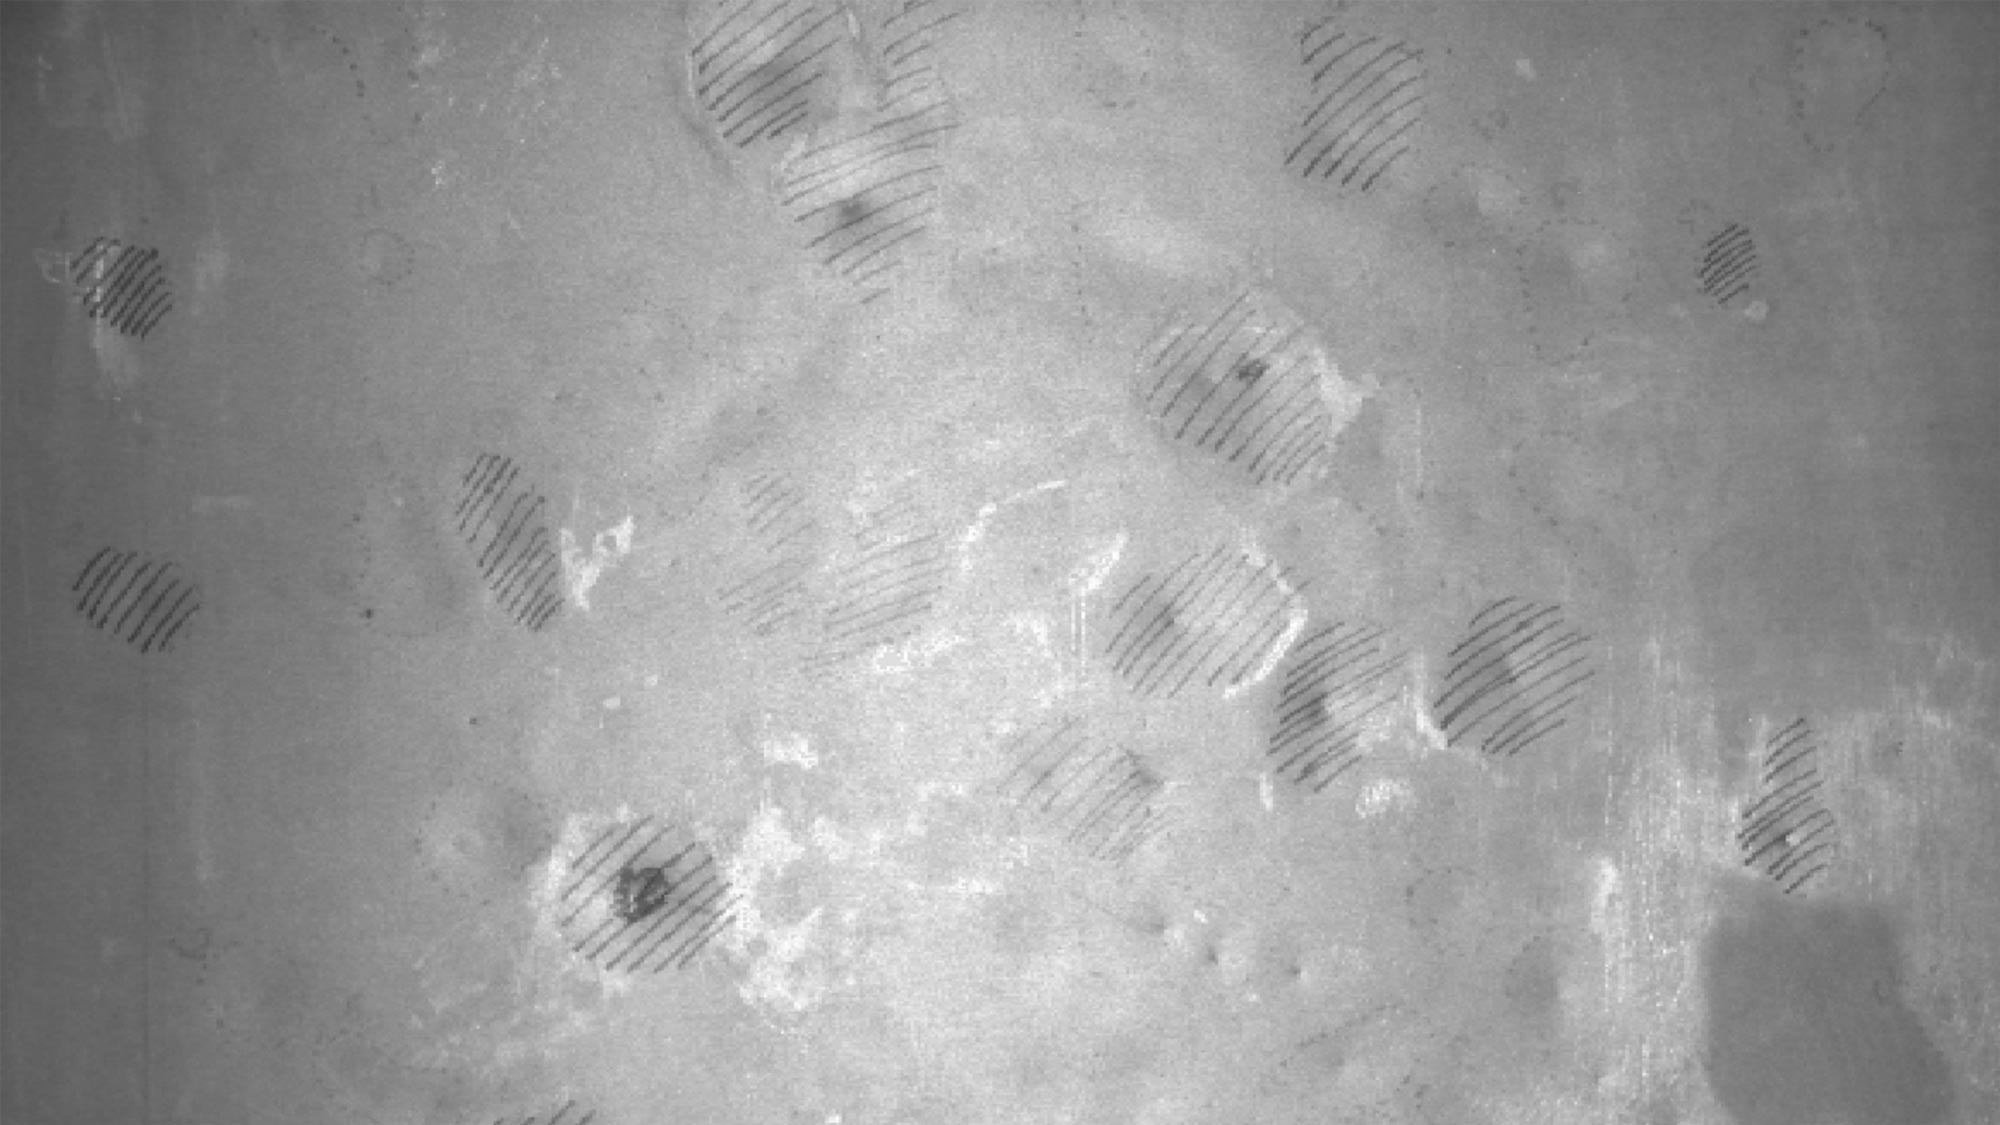
Left: Damage Aircraft Surface, as seen and marked up by technician / Right: Dent-Mapping via Augmented Reality, as measured by dentCHECK